An image that might be useful for my "sky birds" project (are those feathers?) - as it came from the camera -

To simplify it, I made it monochrome (Image - Mode - Grayscale in Photoshop) and adjusted the Levels (control+L is the keystroke for Levels) by sliding the white slider to the end of the black hump and the grey slider almost to the far left. I didn't like the result -
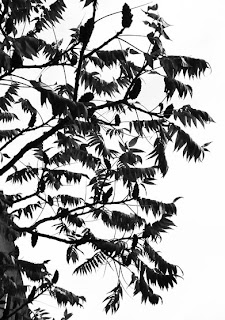
 Using Image - Adjustments - Brightness/Contrast gives a much better result -
 Both Brightness and Contrast are at the max - the sliders are over on the right.
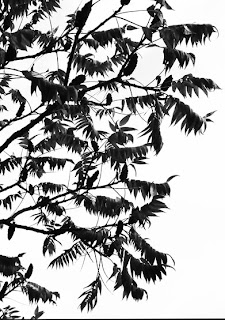
Levels is the adjustment in Photoshop I use the most, but it certainly has its limitations.
Or maybe I use Crop more often than Levels? Just about any photo is better cropped...
A sequence of keystrokes I learned recently is useful to remove the building from the bottom left corner. Control+A selects the entire image, and Control+T can be used to "transform" it - hold down the Control key while dragging a corner.
Oops, I didn't crop the bottom carefully enough... (the keystroke for getting to the Crop tool is simply C).
To remove the leaves in the lower left, click E (for the Eraser tool), make sure the background (the "set background colour" square in the tool bar) is white, and rub them away -

Erasing is quicker if you right-click to adjust the diameter. (I haven't figured out what "hardness", which can also be adjusted by right-clicking, is.) And rather than cropping again to remove that line at the bottom, I used the Eraser tool - one click at a time, in case I made a mistake, in which case Control+Z would undo the mistake.
Hah - I showed this to my son, who has been boning up on Photoshop. He went to my original monochrome image, pressed V then Control+J (to create a new layer), Shift and + or - to cycle through Blend modes, and Control+J till it was dark enough - took him less than 10 seconds!

No comments:
Post a Comment